Table of Contents
About DNS records #
A DNS (Domain Name System) name server stores DNS records for a domain name. There are many types of DNS records, but some of the most common are:
- A records: An A record associates a domain name (such as example.com) with an IP address (such as 104.218.15.162).
- CNAME records: CNAME (canonical name) records define aliases by associating one domain name with another. For example, you could create a CNAME record for mail.example.com associated with example.com. When a DNS lookup for mail.example.com occurs, it receives in response the associated example.com domain, and subsequently performs a lookup on its A record. CNAME records enable you to define multiple domains without having to specify an IP address for each one.
- TXT records: TXT records can contain any arbitrary text data. They are often used to define SPF (Sender Policy Framework) or DKIM (DomainKeys Identified Mail) settings.
Using the Zone Editor in cPanel #
To configure DNS records for your domain, cPanel provides a Zone Editor. The Zone Editor enables you to quickly and easily change DNS records for your domain or domains.
Access cPanel from WPFond #
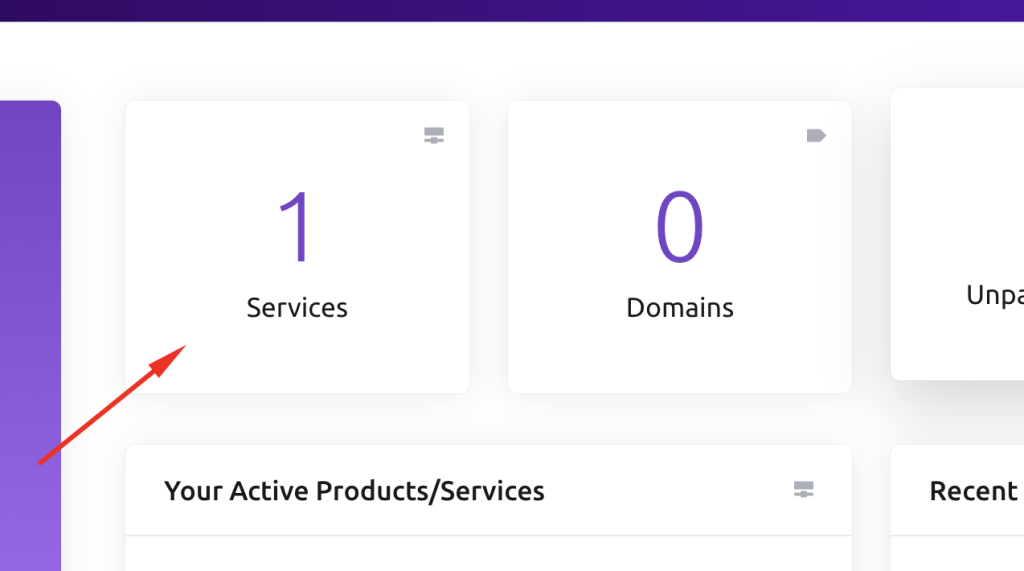
To access your cPanel, please go to the Services tab from the dashboard:
In the next step, you need to click on your service package, and then click on Log in to cPanel:

Adding a record #
To add a record using the Zone Editor, follow these steps:
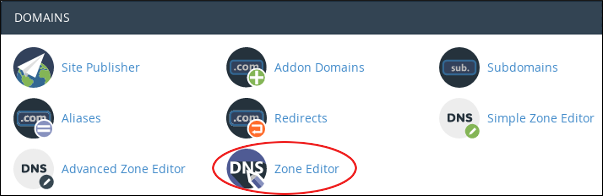
- In the DOMAINS section of the cPanel home screen, click Zone Editor:

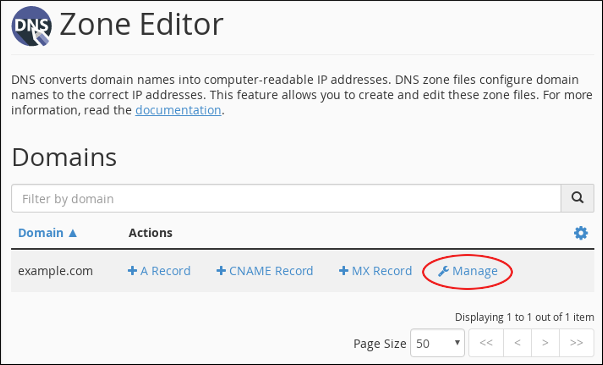
- Under Domains, locate the domain for which you want to add a record, and then click Manage:
- Next to Add Record, click the down arrow, and then click the type of record you want to add:
- In the Name text box, type the fully-qualified domain name (FQDN) for the record.
- In the TTL text box, type the time-to-live value in seconds.
- Confirm that the Type list box contains the type of record that you want to add.
- In the Record text box, type the value for the record.

Editing a record #
To edit a record using the Zone Editor, follow these steps:
- In the DOMAINS section of the cPanel home screen, click Zone Editor:
- Under Domains, locate the domain for which you want to add a record, and then click Manage:
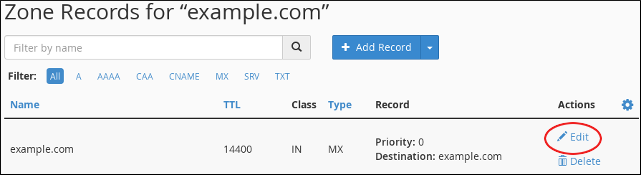
- Locate the record you want to edit, and then under Actions, click Edit:
- Modify the value or values you want to change, and then click Save Record. cPanel updates the record.
Deleting a record #
To delete a record using the Zone Editor, follow these steps:
- In the DOMAINS section of the cPanel home screen, click Zone Editor:
- Under Domains, locate the domain for which you want to add a record, and then click Manage:
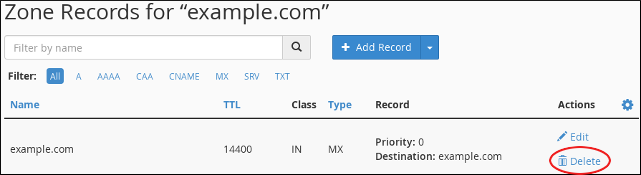
- Locate the record you want to delete, and then under Actions, click Delete:
- At the Confirm Deletion prompt, click Continue. cPanel deletes the record.